How to Prepare for Aircon Installation
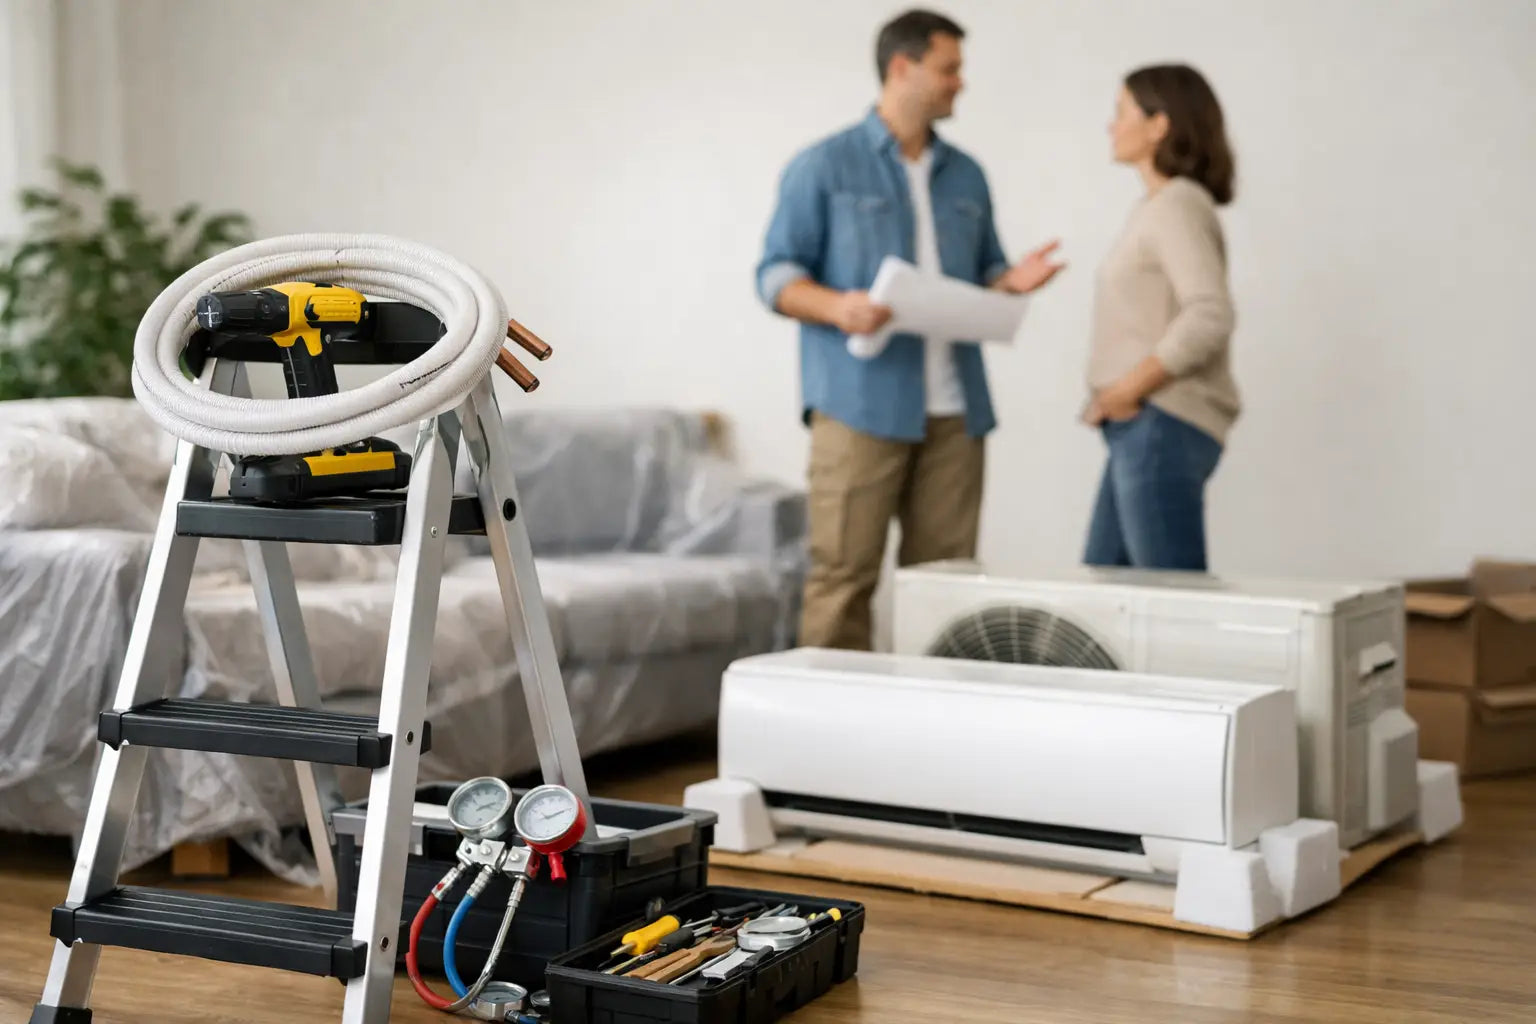
The day before an installation is when small oversights turn into delays. A blocked service yard, no power point near the indoor unit, or furniture packed too tightly against the wall can slow the job down and affect the final finish. If you are wondering how to prepare for aircon installation, the goal is simple - make sure your installer can work safely, route materials neatly, and complete the system without unnecessary changes on site.
Good preparation is not just about helping the crew move faster. It also protects the installation quality. Air-conditioning systems depend on correct placement, proper drainage, sound piping work, and enough access for future servicing. When the site is ready, the installer has more room to do the job properly instead of improvising around avoidable obstacles.
How to prepare for aircon installation before the team arrives
Start with the layout, not the aircon model. Many owners focus on brand and capacity first, but placement decisions often have the bigger impact on comfort and workmanship. The indoor unit should allow strong airflow across the room without blowing directly onto a bed, sofa, workstation, or dining position all day. The outdoor unit needs ventilation, stable mounting, and enough clearance for maintenance.
If you are in an apartment, condo, or townhouse, check management rules early. Some buildings have fixed guidelines for condenser placement, trunking routes, drilling hours, and permit submissions. In commercial spaces, there may also be fit-out rules, restricted access hours, or loading bay procedures. This part matters because even a technically simple installation can get delayed if access approvals are not in place.
It also helps to confirm who will be present on installation day. Someone should be available to approve final placement, answer questions about routing, and inspect the completed work. If no decision-maker is on site, crews may have to pause over details such as trunking alignment, drainage exit points, or control wiring paths.
Clear the work area properly
Installers need more than just a gap under the wall. For indoor units, clear enough space around the intended wall so ladders, tools, and mounting work can be done safely. Move artwork, shelving, curtains, mirrors, and fragile decor. If the wall backs onto a wardrobe, cabinet, or concealed wiring zone, mention it before drilling starts.
For outdoor units, remove stored items, laundry racks, boxes, or cleaning supplies from the service area. Condenser installation often involves lifting, leveling, connecting insulated copper pipes, and pressure testing. Tight spaces make neat work harder and increase the risk of dents, scratches, or awkward piping bends.
Protecting nearby furniture is also a smart move. Professional teams usually cover work areas, but if you have premium flooring, delicate surfaces, or electronics nearby, move them out where possible. Dust from drilling is manageable, but preparation reduces cleanup and lowers the chance of accidental damage.
Check the wall and ceiling condition
Not every wall is equally suitable for mounting. Hollow partitions, decorative wall panels, concealed beams, and tiled surfaces all require different handling. Let the installer know if you suspect the wall has hidden electrical lines, water pipes, or recent renovation work behind it. In older properties, the condition of plaster or masonry can also affect bracket anchoring.
Ceiling details matter too, especially if trunking will run high along the room edge or if access near the top is blocked by built-ins. In some homes, false ceilings create a cleaner visual finish. In others, they limit pipe routing and service access. There is no single right answer - it depends on room design, drainage path, and how much concealment you want versus how easy future maintenance should be.
Plan power, drainage, and piping with installation in mind
A clean-looking installation is not only about where the unit sits on the wall. It comes from planning the hidden parts well.
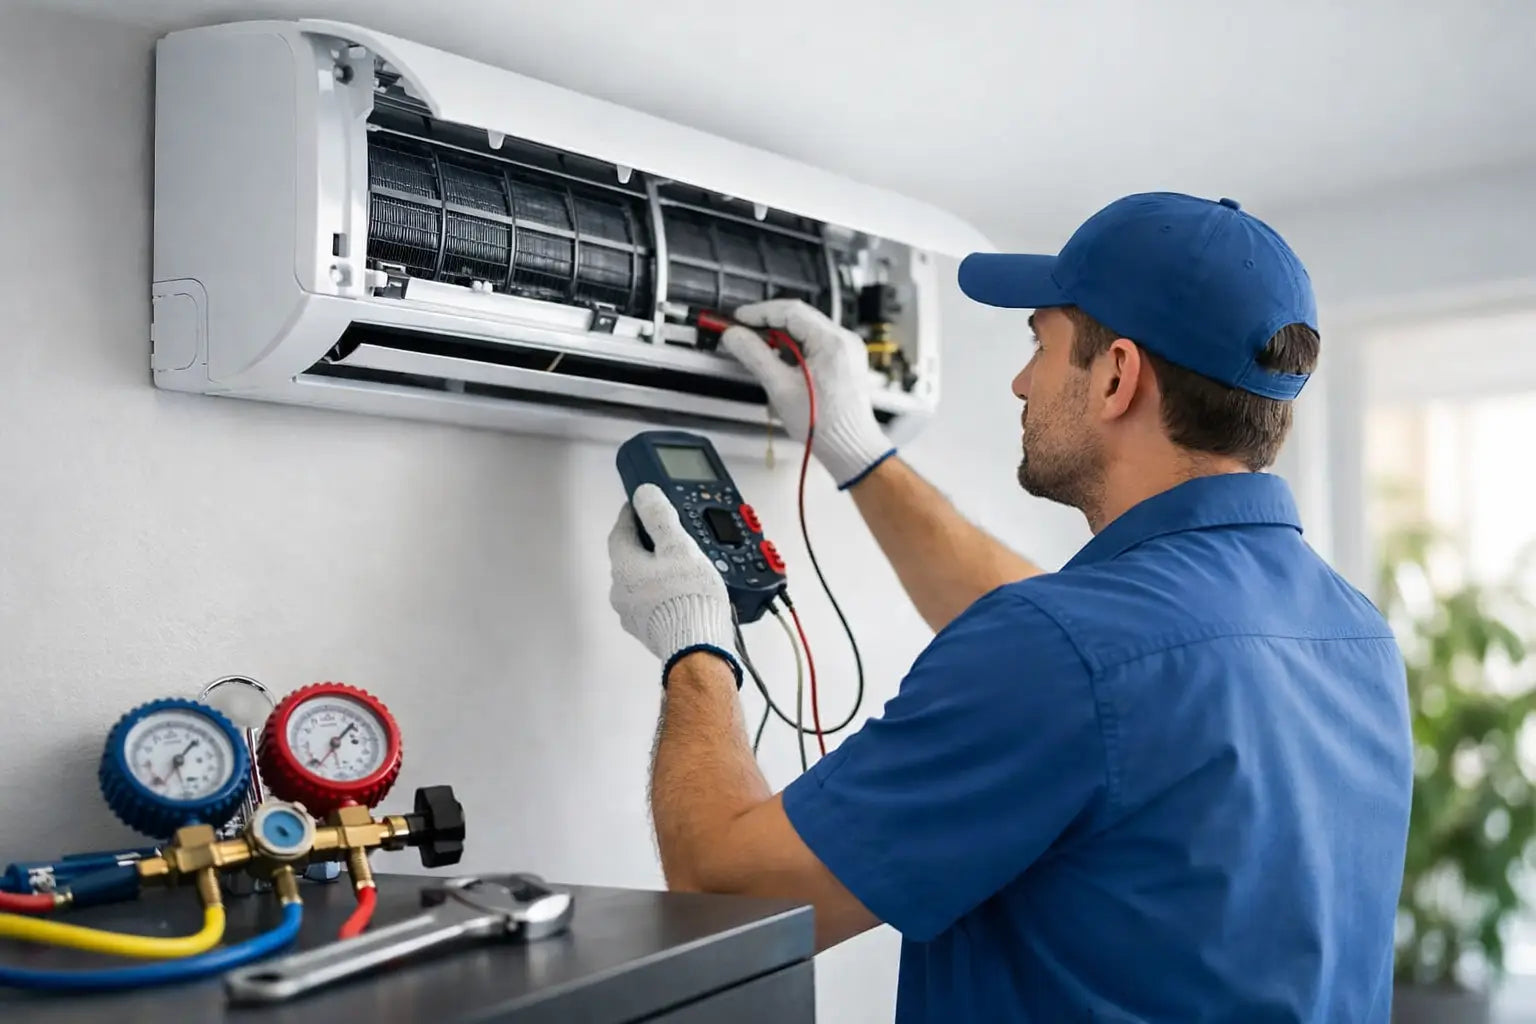
First, confirm the electrical setup. Aircon systems need the correct power supply, isolator position, and circuit capacity. If your property is older or the new system is larger than the previous one, it is worth checking whether any electrical upgrading is needed before installation day. Waiting until the crew arrives to discover the power point is unsuitable can disrupt the schedule.
Next, think about drainage. Every indoor unit produces condensate water, and that water needs a proper discharge route. Poor planning here leads to some of the most common post-installation complaints - dripping, backflow, staining, and bad smells. The shortest route is not always the best route. The drain line needs the right gradient, and in some spaces the neatest option may involve a different wall position or trunking route.
Piping routes should be discussed with both function and appearance in mind. Some owners want the shortest possible run for efficiency. Others care more about keeping trunking discreet. Often the best result is a balance between both. Better materials also matter. Insulation quality, copper pipe thickness, and cable standards all affect long-term durability, especially in hot, humid conditions where condensation control is critical.
Decide what kind of finish you want
Before work starts, ask yourself how visible you are comfortable having the installation components be. Some customers prefer fully exposed trunking with straightforward service access. Others want box-up works or routing that blends into the room more neatly. Neither choice is automatically better.
A more concealed finish can look cleaner, especially in living rooms, offices, and retail environments. But concealment may add cost, require coordination with other renovation work, and limit future access if not planned carefully. A visible but neatly aligned trunking route is often the more practical choice when speed, budget, and serviceability matter most.
If aesthetics are important, decide this early rather than on the day itself. Last-minute changes to pipe routes or finishing details can affect labor time and material use.
What homeowners and businesses often forget
The biggest missed step is timing. Aircon installation should fit around the rest of the property work, not fight with it. If painting, carpentry, electrical work, or flooring is happening at the same time, confirm the sequence. Install too early and units may be exposed to dust, paint, or accidental knocks. Install too late and you may end up reopening finished areas to complete piping or wiring.
For homeowners moving into a new place, measure doorways, corridors, and lift access if equipment needs to travel through tight common areas. For businesses, think about operating hours, customer flow, and noise-sensitive periods. An office may prefer weekday morning access, while a retail or F&B space may need installation outside trading hours.
Parking and loading access are easy to ignore until the crew arrives with equipment. If your property requires pre-registered vehicles, freight elevator booking, or loading permits, settle that in advance. These details do not improve cooling performance, but they make the installation process smoother and more predictable.
Prepare questions for your installer
A good installer should be able to explain the placement, materials, and expected timeline clearly. Ask where the drain will discharge, how the piping will be routed, what insulation and copper grade will be used, and whether the final setup allows proper servicing access. These are not minor technicalities. They are directly tied to reliability and maintenance over time.
You should also ask what is included in the scope. This is where many customers get caught by hidden extras. Wall drilling, extended piping, upgraded brackets, electrical works, condensate pumps, and finishing touches may or may not be part of the quoted package. Clear answers upfront are better than on-site surprises.
For customers who value long-term reliability over the lowest entry price, this is where a specialist installer stands apart. Companies such as Commercestar Engineering build trust by being specific about workmanship standards, in-house coordination, and installation materials rather than reducing everything to the cheapest package headline.
On installation day, focus on access and decisions
Once the crew arrives, walk them through the site before tools come out. Confirm each indoor and outdoor unit location, trunking direction, drainage route, and controller position. This short walkthrough prevents misunderstandings and gives you one last chance to catch anything that looks off.
Keep pathways clear and pets or children away from active work zones. Drilling, lifting, and testing all require concentration and safe movement. If your building has time restrictions, remind the team early so noisy work can be prioritized.
After the job is complete, do a practical handover instead of just a quick glance. Check that the units are aligned neatly, trunking is secure, drainage points are acceptable, and the area has been cleaned. Ask for an operating demonstration, including mode settings, temperature control, and any maintenance reminders. A proper handover makes ownership easier from day one.
Preparing well does not mean doing the installer's job for them. It means removing the friction that leads to rushed decisions, messy routing, or preventable delays. When the space, approvals, power, and expectations are ready, the installation has a much better chance of looking clean, performing properly, and staying reliable long after the first cold blast of air.
