Best Practices for Aircon Piping That Lasts
A new air-conditioning system can have an excellent indoor unit and still perform poorly if the piping work is rushed. The best practices aircon piping approach treats copper lines, insulation, drainage, wiring, and finishing as one complete installation system. Done properly, it helps prevent refrigerant leaks, condensation stains, weak cooling, and costly repairs that may only appear months after handover.
For homeowners, this matters when planning a BTO, resale apartment, or condo renovation. For commercial properties, it matters even more: a piping failure can disrupt office comfort, retail traffic, food operations, and daily business. Good piping is rarely the cheapest part of an installation, but it is one of the clearest investments in long-term reliability.
Aircon Piping Is More Than Copper Tubing
Refrigerant piping carries heat between the indoor fan coil and outdoor condenser. It must be correctly sized for the system, kept clean during installation, insulated continuously, and protected from physical damage. Every bend, joint, and connection affects how reliably the air conditioner will operate.
A contractor should first assess the system capacity, the number of indoor units, the route to the outdoor unit, and the actual pipe run length. A short, direct route is generally preferable, but the shortest route is not always the best choice if it creates an awkward drain slope, exposes pipes to damage, or leaves an unsightly finish in a living space.
The goal is a route that is technically sound, serviceable, neat, and suitable for the property. This is why site evaluation should happen before installation day, not while installers are already drilling and mounting equipment.
Best Practices for Aircon Piping Installation
Use the right copper grade and thickness
Copper piping should be refrigeration-grade material designed for air-conditioning use. Thin or low-quality copper may reduce upfront cost, but it is more vulnerable to dents, pinholes, and stress at bends or joints. Those weaknesses can lead to refrigerant loss, reduced cooling, and repeated troubleshooting.
Pipe thickness should suit the equipment and installation requirements. At Commercestar Engineering, upgraded 21 SWG copper piping is used as part of a premium installation approach. The practical benefit is stronger piping that is better prepared for demanding installation conditions and long-term use.
Correct sizing matters just as much as thickness. A pipe that is too small or too large for the specified system can affect refrigerant flow, compressor performance, and energy efficiency. Installers should follow the air-conditioner manufacturer’s requirements rather than applying one pipe size to every project.
Protect every section with quality insulation
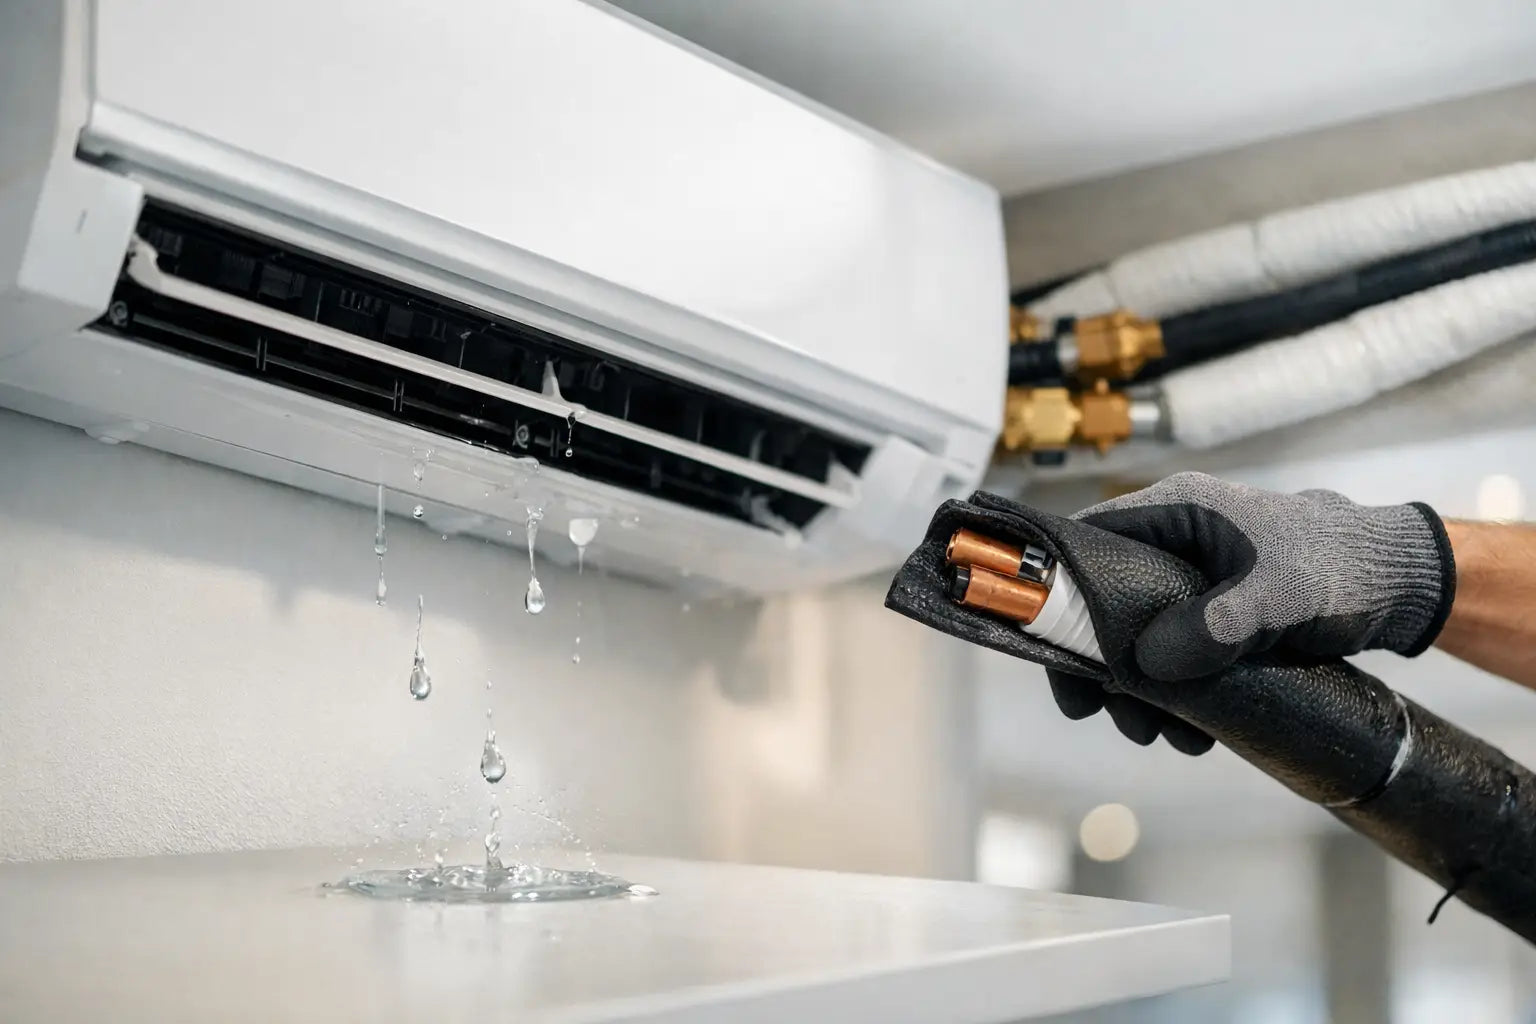
Insulation is the barrier that prevents cold refrigerant lines from collecting moisture in warm, humid surroundings. When insulation is too thin, poorly fitted, split at the seams, or left exposed, condensation can form. The result may be dripping pipes, damp walls, ceiling damage, mold growth, or a persistent musty smell.
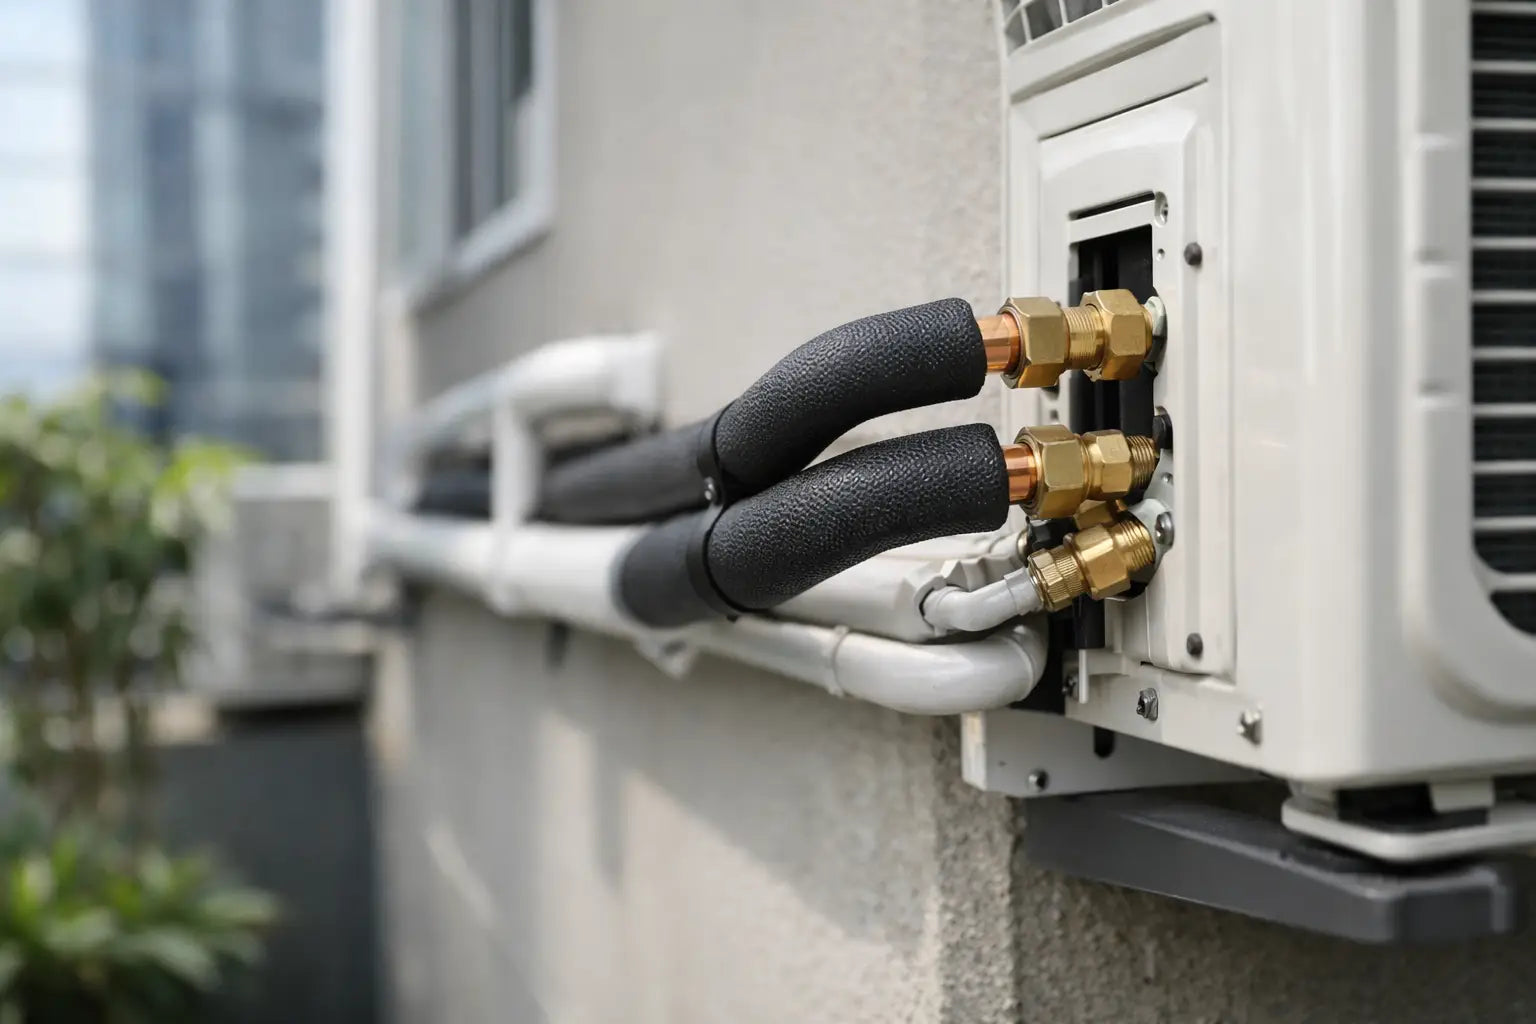
High-quality closed-cell insulation offers stronger resistance to condensation and heat gain. K-FLEX TITAN Class 0 insulation, for example, is designed to provide dependable thermal protection and fire-performance benefits. The insulation should fit snugly around the pipe without being compressed, and all joints should be properly sealed.
Pay close attention to elbows, branch connections, and termination points. These are common areas for gaps because they take more care to finish. A tidy-looking pipe run is not enough if the insulation has hidden breaks underneath the tape or trunking.
Keep bends smooth and joints to a minimum
Every pipe bend needs to preserve the internal shape of the copper. A kink restricts refrigerant flow and creates a potential failure point. Skilled installers use appropriate bending tools and maintain a suitable bend radius instead of forcing the pipe into sharp turns.
Joint locations should also be minimized where possible. More joints mean more potential leak points. Some connections are unavoidable, particularly in longer routes or complex layouts, but they should remain accessible for future inspection rather than buried carelessly behind permanent finishes.
Brazed joints require disciplined workmanship. The pipe must be clean, correctly prepared, and protected from oxidation during the joining process. A joint may look acceptable from the outside yet still develop a slow leak if the process was incomplete. That is why testing after installation is essential.
Plan drainage with the same care as refrigerant lines
Water leaks are often blamed on the indoor unit, but drainage design is frequently the underlying issue. The condensate drain pipe needs a consistent downward slope so water can flow naturally to the discharge point. If the route sags, rises unnecessarily, or is poorly connected, water can back up and overflow from the fan coil.
Drain lines should be securely supported and insulated where condensation may occur. The discharge point must be appropriate for the property and should not create dripping, staining, or nuisance conditions for neighbors or customers. In some layouts, a condensate pump may be necessary, but gravity drainage is usually simpler and less dependent on additional equipment.
Before handover, the drain should be tested with water. This small step can reveal poor slope, loose joints, and obstructions before they become a ceiling leak.
Use proper electrical cabling and separation
Piping and electrical work are closely connected, but they should be organized safely. Correctly rated cables, secure terminations, and careful routing reduce the risk of electrical faults and make future servicing easier. Singapore-made cables can provide added assurance on material quality when included in a professional installation package.
Cables should not be squeezed under damaged trunking covers or left loosely hanging beside drain lines. Neat routing is not merely cosmetic. It protects the system, supports easier fault tracing, and gives the finished work a more professional standard.
Testing Is Where Workmanship Becomes Verifiable
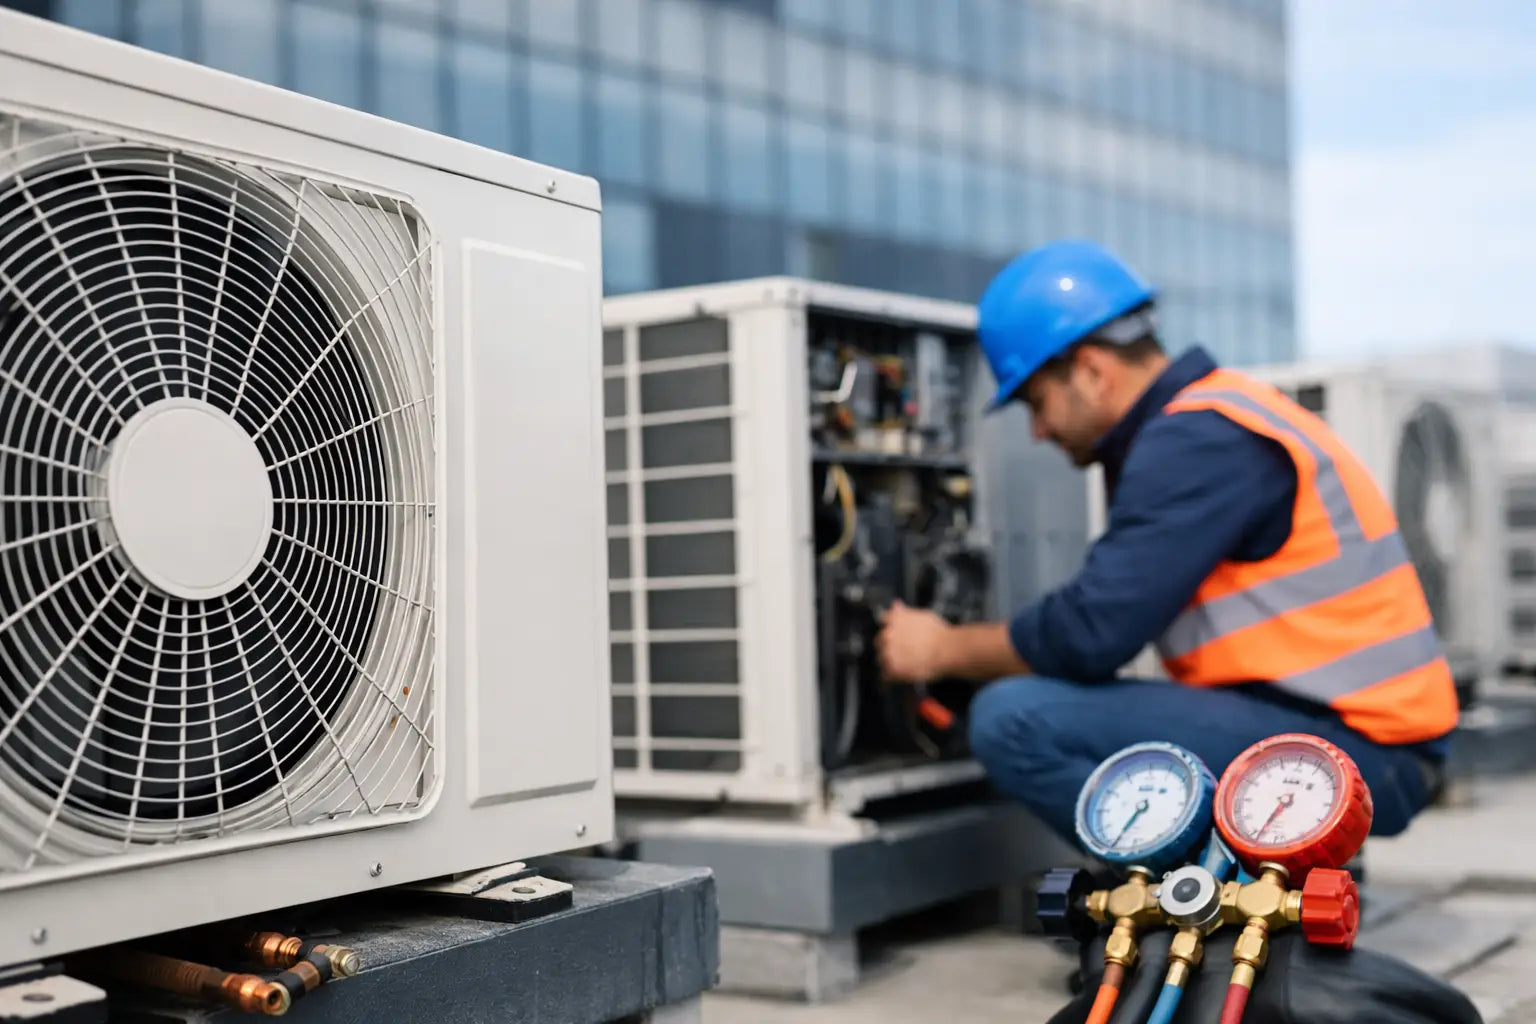
No customer should have to wait for weak cooling to discover a piping problem. Proper installation includes pressure testing the refrigerant lines to identify leaks before the system is commissioned. The lines should then be vacuumed thoroughly to remove air and moisture.
Moisture inside a refrigerant circuit can compromise performance and contribute to corrosion or system issues over time. Skipping or shortening the vacuum process may save a few minutes, but it is not a shortcut worth taking. The system should only be charged, started, and checked after the installer has confirmed that the piping circuit is sealed and properly evacuated.
A final operational test should verify cooling performance, drainage, unusual noise, and the condition of visible pipework. For a multi-split system, each indoor unit should be tested rather than assuming that one successful test confirms the entire installation.
Choose a Finish That Protects the Work
Exposed piping needs a protective and presentable finish. PVC trunking is a practical choice for many homes because it keeps pipework organized and accessible for future work. The trunking should be straight, properly supported, and fitted with clean corners and covers. Poorly aligned trunking, gaps at wall edges, and excessive joints are warning signs of rushed work.
Concealed piping can create a cleaner interior appearance, particularly during renovation, but it requires more planning. Repairs become more disruptive if a concealed line leaks, so material quality, pressure testing, and accurate route documentation are even more important. Concealed piping should never mean inaccessible critical joints hidden behind permanent finishes.
For commercial spaces, the best finish may prioritize protection and service access over appearance. Offices, kitchens, retail units, and industrial sites all have different exposure risks. A route that works well in a bedroom may not be suitable near heat, grease, foot traffic, or equipment movement.
Match the Installation to the Property
There is no single piping layout that fits every site. In apartments, the outdoor-unit location, building rules, and limited ceiling space may shape the route. In a landed home, longer pipe runs and multiple zones can affect capacity planning and installation cost. In commercial projects, operating hours, ceiling access, refrigeration load, and the need to minimize business disruption may be deciding factors.
The right contractor explains these trade-offs clearly. A lower-cost proposal may use shorter material allowances, basic insulation, or limited testing details. A better proposal should state what piping, insulation, cables, drainage work, and finishing are included, so customers can compare value rather than simply comparing a headline price.
What to Check Before Signing Off
Before accepting a new installation, inspect the visible workmanship and ask what testing was completed. Confirm that the trunking is neat, insulation is intact, drainage has been tested, and every indoor unit is cooling properly. Keep the installation details and warranty information for future servicing.
After installation, regular maintenance still matters. Cleaning filters, servicing fan coils, and checking drain performance help the system run efficiently. However, maintenance cannot fully correct poor piping installed from the start. The strongest outcome comes from quality materials, skilled installation, proper testing, and ongoing care.
When aircon piping is planned as a long-term part of the property rather than an afterthought, the result is quieter operation, cleaner finishes, dependable cooling, and fewer unpleasant surprises after the installers leave.