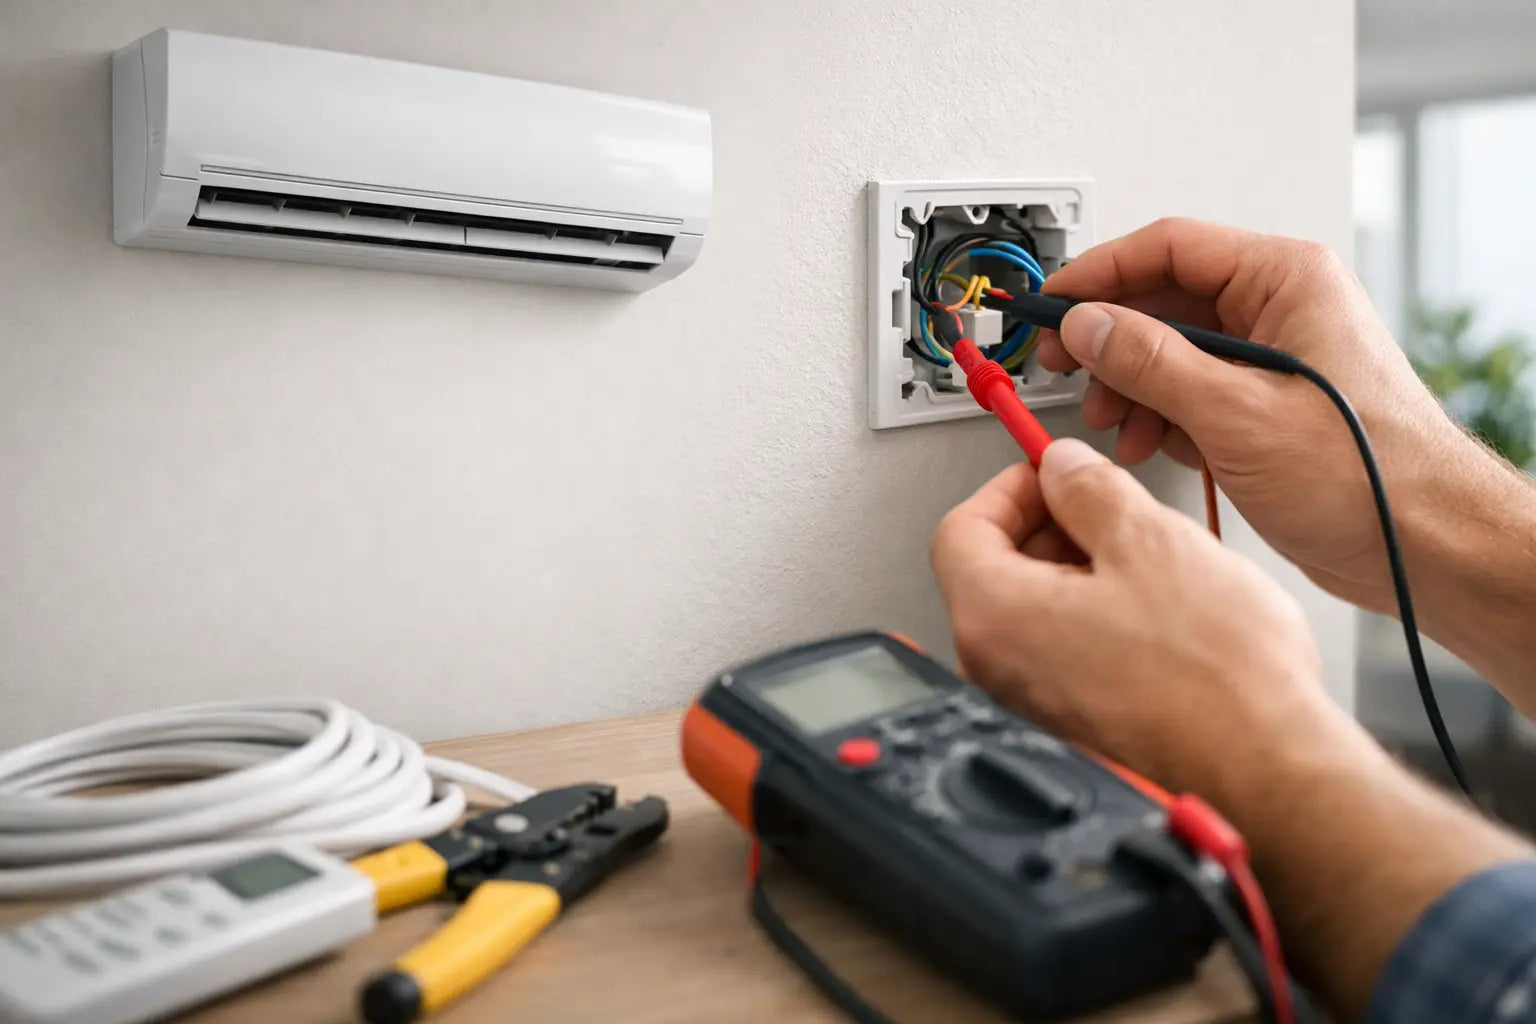
BTO Aircon Electrical Requirements Explained
Your BTO renovation may look complete on paper, but air conditioning can become an expensive last-minute problem when the electrical plan is overlooked. BTO aircon electrical requirements affect where your fan coil units can go, whether your chosen system can run safely, how neat the finished work looks, and whether your installer can proceed without disruptive add-on work.
For most homeowners, the goal is straightforward: cool every intended room reliably, keep the installation tidy, and avoid discovering that a circuit, isolator, or cable route was not planned for. The best time to address these details is before carpentry, false ceilings, and painting begin.
What BTO Aircon Electrical Requirements Usually Cover
An air-conditioning system is not simply plugged into the nearest wall outlet. Split-system air conditioners need an electrical supply designed for the system load, suitable protection at the distribution board, correctly sized cables, and accessible isolation points for servicing.
In a typical Singapore BTO apartment, this includes the electrical connection for the outdoor condensing unit and the supply arrangements for indoor fan coil units, depending on the system design and installation method. The exact setup varies by aircon brand, model, capacity, number of rooms, and the electrical provisions already available in the unit.
A professional site assessment matters because a System 3 configuration for three bedrooms does not have the same demand as a larger multi-split arrangement serving bedrooms and a living area. A homeowner may also decide to add air conditioning to a study, convert a room later, or choose a higher-capacity unit for a west-facing space. Those choices should be considered before the electrical work is finalized.
Start With the Distribution Board
The distribution board is the control center for your home's electrical circuits. Before installation, the electrician and aircon installer should verify whether there is adequate capacity for the proposed air-conditioning system and whether a dedicated circuit is required for the equipment.
A dedicated circuit helps prevent the aircon system from sharing load with general sockets, lighting, or high-demand appliances. This is a practical safety and reliability measure. When circuits are overloaded or poorly allocated, nuisance tripping can occur, and diagnosing the cause becomes more difficult.
The required circuit rating and cable size should follow the manufacturer’s specifications, the system’s electrical load, and local electrical requirements. There is no responsible one-size-fits-all answer. Choosing cable based only on what was used in a neighbor’s home is not a proper design decision.
For this reason, homeowners should avoid asking for a cheaper workaround that bypasses the proper circuit arrangement. Savings from undersized cables, unsuitable breakers, or improvised connections are small compared with the disruption of opening up finished renovation work later.
Ask Who Is Handling the Electrical Scope
Aircon installation and electrical works often involve separate trades. That is normal, but responsibilities should be clear before work starts. Confirm who will inspect the distribution board, provide the circuit, install isolators, route the cable, make good any affected surfaces, and test the completed installation.
If your renovation contractor manages the electrical work, provide the aircon layout and proposed system details early. If your aircon specialist is coordinating the electrical scope, make sure the quotation states what is included and what may require a site-based variation.
The key is coordination. An aircon team cannot produce a neat finish if the electrical cable route was decided after cabinetry and ceiling features were already installed.
Isolators Need to Be Safe and Accessible
An aircon isolator is a local switch that allows the unit to be safely disconnected for maintenance, repair, or replacement. It is a small item, yet its location has a major impact on serviceability.
For indoor units, isolators are commonly planned near the fan coil unit or in an accessible adjacent location, subject to the installation design. They should not be hidden permanently behind built-in carpentry, sealed inside a ceiling void without practical access, or placed where future servicing requires dismantling finished works.
The outdoor unit also needs an appropriate isolation arrangement. Outdoor service access is particularly important because technicians need to inspect electrical connections, test the unit, and carry out future maintenance safely.
Homeowners sometimes prioritize a completely invisible installation. Concealing components can improve the visual result, but it should not come at the cost of maintenance access. A well-planned installation balances clean lines with practical access panels and sensible service clearances.
Plan Cable Routes With Piping and Trunking
Electrical planning should happen alongside refrigerant piping, drainage piping, and trunking planning. These elements travel through the home together, but they do not always take identical routes. Their placement must be deliberate to avoid a bulky, uneven, or improvised final appearance.
For a BTO renovation, discuss the following before box-up works begin: the location of each fan coil unit, the outdoor condensing unit position, preferred trunking routes, drainage fall, electrical cable paths, and where access will be needed in the future. A clear drawing is helpful, especially where bedrooms have wardrobes, feature walls, or false ceilings.
Boxing up trunking can create a polished finish, but it also makes future leak detection and repairs more involved if access was not considered. This is why quality installation materials and disciplined routing matter. Durable insulation, correctly sized copper piping, properly supported trunking, and suitable electrical cabling all contribute to an installation that remains dependable after the renovation dust has settled.
At Commercestar Engineering, installation planning focuses on more than where the unit will be mounted. Better materials, including premium insulation, thicker copper piping options, and Singapore-made cables, support a neater and more durable system when specified for the project.
Do Not Treat Existing Provisions as a Final Answer
New BTO apartments may come with certain electrical provisions, but homeowners should still verify what is actually available in their specific unit. Unit layouts, project specifications, aircon choices, and renovation plans can differ significantly.
An existing provision may be suitable for one system but not another. It may also be located in a place that clashes with your preferred indoor unit position, ceiling design, or concealed trunking route. Verification before purchase prevents false assumptions and allows the system to be selected around real site conditions.
A site survey is especially useful if you are considering a living-room unit, a larger capacity system, concealed fan coil units, or nonstandard placement. These designs can require more detailed coordination than a simple bedroom-only setup.
Common BTO Electrical Mistakes to Avoid
The most common mistake is leaving aircon planning until after the renovation contractor has completed electrical works. By then, extra cabling may require surface trunking, hacking, revised box-up designs, or costly reinstatement.
Another issue is selecting an aircon package based only on the number of indoor units. System capacity, room heat load, usage patterns, and electrical demand all matter. A larger system is not automatically better, and a lower-priced system is not automatically adequate.
Homeowners should also be cautious about requests to conceal every cable, pipe, and isolator without discussing access. A clean installation should look intentional, but it must also be serviceable. Air conditioning is equipment that will need routine cleaning and may eventually need repair.
Finally, do not accept vague quotations for electrical add-ons. Ask whether the price includes the circuit, breaker, isolators, cable route, surface or concealed containment, testing, and making good. Transparent scope protects both the homeowner and the contractor.
A Practical Pre-Installation Checklist
Before confirming your installation date, make sure the aircon layout has been shared with your renovation contractor or electrician. Confirm the proposed outdoor unit location, identify where indoor isolators will sit, and ensure there is a practical cable route that will not conflict with wardrobes, ceiling works, or carpentry.
You should also confirm the final aircon model and system capacity before electrical work is completed. If the model changes later, its electrical specifications may differ. Keep service access in mind for fan coil units, drain piping, and the outdoor unit, even when the design includes concealed trunking or box-up works.
Get the Electrical Plan Right Before Finishing Works
Air conditioning is one of the few renovation items that combines electrical safety, mechanical performance, drainage, piping, and aesthetics. Treating it as an afterthought often leads to compromises that are visible for years or expensive to correct.
A proper BTO aircon electrical plan gives your installer the right foundation to deliver safe connections, clean routing, and dependable cooling. Before the ceiling closes and the carpentry goes in, have the system assessed, document the scope, and make sure every future service point remains within reach.