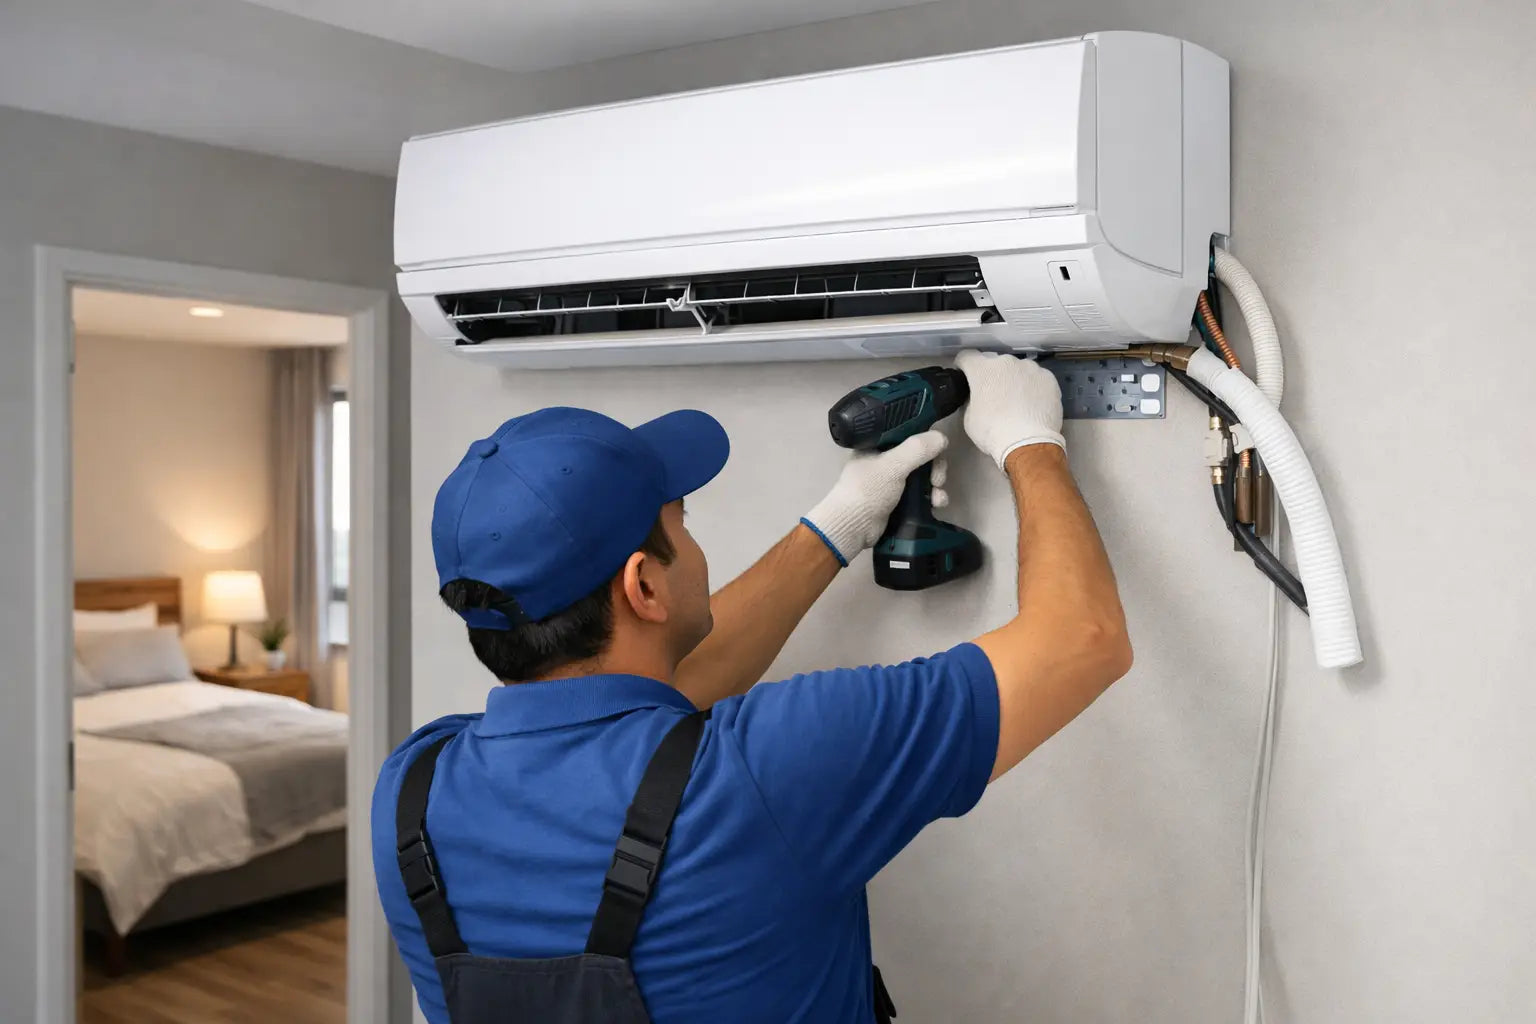
BTO Aircon Installation Example for a 4-Room Flat
A realistic bto aircon installation example starts well before an installer arrives with copper pipes and indoor units. For a typical Singapore 4-room BTO flat, the key decisions are where each room will be cooled, how the piping will travel, where condensate water will drain, and how the finished trunking will look after the renovation work is complete.
The aim is not simply to make the rooms cold. A well-planned installation should deliver dependable cooling, neat finishes, accessible servicing points, and materials that can stand up to years of daily use. Here is what that process can look like in practice.
A Typical BTO Aircon Installation Example
Consider a homeowner collecting the keys to a 4-room BTO flat with three bedrooms and an open living and dining area. The family wants air-conditioning in all bedrooms, plus the living room for weekends, guests, and hot afternoons. They also want to avoid oversized trunking running across feature walls or a drainage route that may cause water issues later.
A common recommendation is a System 4 configuration: one outdoor condenser serving four indoor fan coil units. The final capacity selection depends on the room sizes, sun exposure, ceiling height, window orientation, and how the family uses each space. A master bedroom that receives afternoon sun may need different consideration from a smaller common bedroom that is used only at night.
In this example, the proposed layout includes one indoor unit in the living room and one in each bedroom. Before confirming the package, the installation team reviews the floor plan, checks the locations of the air-conditioner ledges and drain points, and discusses the homeowner's renovation schedule. This prevents a common mistake: installing pipes first, then discovering that carpentry, false ceilings, or electrical works have blocked the preferred route.
Planning the Indoor Unit Positions
The living room unit is typically positioned to throw air across the main seating and dining zone without blowing directly onto the sofa. The installer also considers future curtains, display cabinets, and feature panels. A unit squeezed tightly into a boxed-up area may look tidy on day one but can become difficult to service when a drain pan needs cleaning.
In the bedrooms, indoor units are normally placed high on a wall with sufficient clearance for airflow and maintenance. The air should circulate across the room rather than discharge directly onto the bed. For the master bedroom, the selected position should also account for wardrobes, ceiling fans, and any planned cove lighting.
These small details matter. A neat installation is not only about hiding materials. It is about leaving enough practical access for future servicing, repair, and cleaning.
Mapping the Piping and Drainage Route
For this BTO aircon installation example, the bedrooms are grouped along a corridor leading toward the living area. The most efficient approach may be to run the refrigerant piping and control cables from the outdoor unit location through the designated route, then branch toward each indoor unit.
The exact path differs from flat to flat. Some homeowners prefer exposed trunking because it is easier to inspect and more cost-effective. Others plan a false ceiling or aircon box-up work to conceal selected sections. Both can work well, provided the route remains serviceable and does not create sharp bends, poor drainage gradients, or inaccessible joints.
The drainage pipe deserves particular attention. Condensation from each fan coil unit must flow reliably to the approved drainage point. If the pipe slope is poor or the route is improperly supported, water can back up and leak from the indoor unit. That is why drainage planning should never be treated as a minor finishing detail.
For a premium installation, insulation and copper quality also affect long-term performance. Commercestar Engineering uses K-FLEX TITAN Class 0 insulation, thicker 21 SWG copper piping, and Singapore-made cables as part of its workmanship-focused approach. These specifications are chosen to support durability, reduce condensation risk, and provide greater confidence beyond the initial installation day.
What the Homeowner Sees After Installation
Once the piping is in place, the visible trunking should follow clean, intentional lines. Corners should be properly finished, clips should be evenly spaced, and the route should not look improvised around walls, beams, or door frames. Where practical, trunking can be coordinated with carpentry or box-up works to create a more integrated appearance.
However, concealment comes with a trade-off. Fully hiding every pipe may look cleaner, but it can make future leak detection and pipe replacement more complicated. A responsible installer will explain which sections can be boxed up safely and which should remain accessible. The best-looking option is not always the best long-term option if it prevents proper maintenance.
Installation Day: From Mounting to Pressure Testing
On installation day, the team begins by protecting the work area and confirming the agreed unit locations and piping routes. Wall mounting plates are leveled carefully because even a slight tilt can affect condensate drainage. Indoor fan coil units are then mounted securely, with pipes, drain lines, and electrical cables connected according to the planned layout.
At the outdoor condenser, the team makes the required connections and secures the unit at the approved location. Good workmanship includes orderly pipe routing, suitable support, and enough space around the condenser for ventilation and future access. A condenser that cannot reject heat efficiently will struggle to perform, especially when several rooms are running at the same time.
The system should not be switched on immediately after connections are made. Proper testing is essential. The refrigerant circuit needs pressure testing and vacuuming before refrigerant is released into the system. This step helps identify leaks and removes moisture and air from the lines. Skipping or rushing it can lead to poor cooling, error codes, and avoidable compressor problems down the road.
After commissioning, each indoor unit is checked for cooling performance, airflow, drainage, and abnormal noise. The installer should also verify that the condensate water is flowing properly at every fan coil unit, not just the first one tested.
The Finished 4-Room BTO Setup
In this example, the completed system gives the household flexible cooling. The family can run only the bedrooms at night, use the living room unit when needed, or cool multiple spaces during gatherings. The system is designed around actual usage rather than a one-size-fits-all package.
The visible results are equally important: straight trunking, properly sealed wall openings, orderly cable routing, and indoor units positioned with future servicing in mind. The homeowner receives guidance on remote control operation, basic filter cleaning, and when to schedule professional servicing.
This is also the right time to ask practical questions. Where are the drain routes? Which trunking sections are accessible? What should be done if water drips from a unit? Is there a maintenance plan for regular cleaning and system checks? Clear after-sales support matters because an air-conditioning system is not a one-time purchase. It is a piece of home infrastructure that needs care.
Common Decisions That Change the Final Cost
Two BTO flats with the same number of rooms can have very different installation requirements. Price can change based on pipe length, trunking complexity, concealed works, the chosen aircon brand and capacity, electrical requirements, and whether the outdoor unit location is straightforward to access.
A low headline price may not reflect the full installation scope. Homeowners should ask what piping, insulation, cables, drainage materials, brackets, trunking, testing, and finishing are included. They should also confirm whether any additional charges may apply for longer runs, nonstandard routes, or renovation coordination.
Choosing better materials may cost more upfront, but it can be worthwhile where the installation route is long, heavily concealed, or difficult to access later. On the other hand, not every flat needs the most elaborate solution. The right recommendation balances budget, appearance, performance, and serviceability.
Coordinate Aircon Works With Renovation Early
For a new BTO home, aircon planning should happen before major carpentry, ceiling, and painting works begin. Share the confirmed aircon layout with the interior designer or contractor so everyone knows where trunking, access panels, and indoor units will be placed. This reduces last-minute changes, damaged finishes, and awkward compromises.
A good installation should feel almost unremarkable once the home is complete: the rooms cool evenly, the drainage works quietly, the piping is neatly managed, and servicing remains possible when it is needed. That is the standard worth planning for before the first coat of paint goes on.