How to Choose BTO Aircon Layout for Your Home
Your BTO floor plan may look simple on paper, but an air-conditioning layout has to work around bedrooms, living areas, windows, beams, service yards, and the routes available for piping. Knowing how to choose bto aircon layout before renovation starts helps you avoid a common regret: an otherwise beautiful home with bulky trunking, uneven cooling, or an outdoor unit that is difficult to service.
The right layout is not simply about choosing the most indoor units. It is about matching cooling capacity, unit placement, piping routes, and electrical requirements to how your household actually uses each room. A properly planned system looks neat on day one and remains efficient, accessible, and dependable years later.
Start With How You Will Use Each Room
Most BTO homeowners begin with a System 3 or System 4 configuration. The best choice depends less on the number of rooms in the flat and more on which spaces need cooling at the same time.
For a typical three-bedroom BTO, a System 3 often serves the master bedroom and two common bedrooms. This is practical for households that mainly use air-conditioning at night. A System 4 adds an indoor unit for the living room, which suits families who spend evenings at home, work remotely, or want a comfortable space for hosting guests.
Think about real routines rather than future possibilities. If the living room is only cooled occasionally, a separate single-split unit can be worth considering. It gives the living area its own outdoor condenser and reduces the load placed on the bedroom system. However, it also requires space at the air-conditioner ledge and may increase upfront installation costs.
A larger system is not automatically better. Oversizing can mean paying for capacity you rarely use, while undersizing can leave rooms slow to cool and force the compressor to work harder. A professional site assessment should account for room size, sun exposure, ceiling height, window area, and whether a room is used as a study, nursery, or bedroom.
How to Choose BTO Aircon Layout by Piping Route
Piping is one of the biggest decisions in a BTO aircon layout because it affects appearance, long-term reliability, and maintenance access. The indoor fan coil units must connect back to the outdoor condenser through copper piping, insulation, drainage pipes, and electrical cables.
In many BTO flats, the air-conditioner ledge is located beside the living room or kitchen area. This means bedroom piping may need to travel across the ceiling line of a hallway, pass through a room, or follow a planned box-up route. The shortest route is usually more efficient and uses less material, but it may not always be the neatest route for your interior design.
For example, routing pipes through the master bedroom may reduce piping length, but it can create visible trunking near the entrance or along a wall. Routing through a hallway may produce a cleaner bedroom finish, especially when coordinated with a false ceiling or aircon box-up. The trade-off is a longer route and a more involved installation.
Do not decide based on photos alone. Ask the installer to mark proposed trunking paths on-site before work begins. You should know where the trunking will run, how wide and deep it will be, where the drainage line slopes, and whether any portion will remain visible after carpentry is completed.
Plan Indoor Unit Locations for Comfort, Not Just Symmetry
An indoor unit should throw cool air across the room without blasting directly onto the bed, desk, or sofa. This sounds minor until you are waking up cold at 3 a.m. or constantly adjusting the remote because the room feels uneven.
In bedrooms, the common position is above the door or on the wall facing the bed. The better placement depends on furniture layout. If the unit is directly above the head of the bed, condensation or servicing access can become inconvenient. If it faces a wardrobe at close range, airflow may be restricted. A unit positioned to distribute air across open floor space generally gives better comfort.
Living room placement needs more thought. Avoid locating the unit where curtains, tall cabinets, feature walls, or a ceiling beam interrupt airflow. If the living room has strong afternoon sun, the air-conditioner may need greater capacity or a location that can push cool air toward the hottest zone. Window film, blinds, and curtains can also reduce heat gain, allowing the system to cool more efficiently.
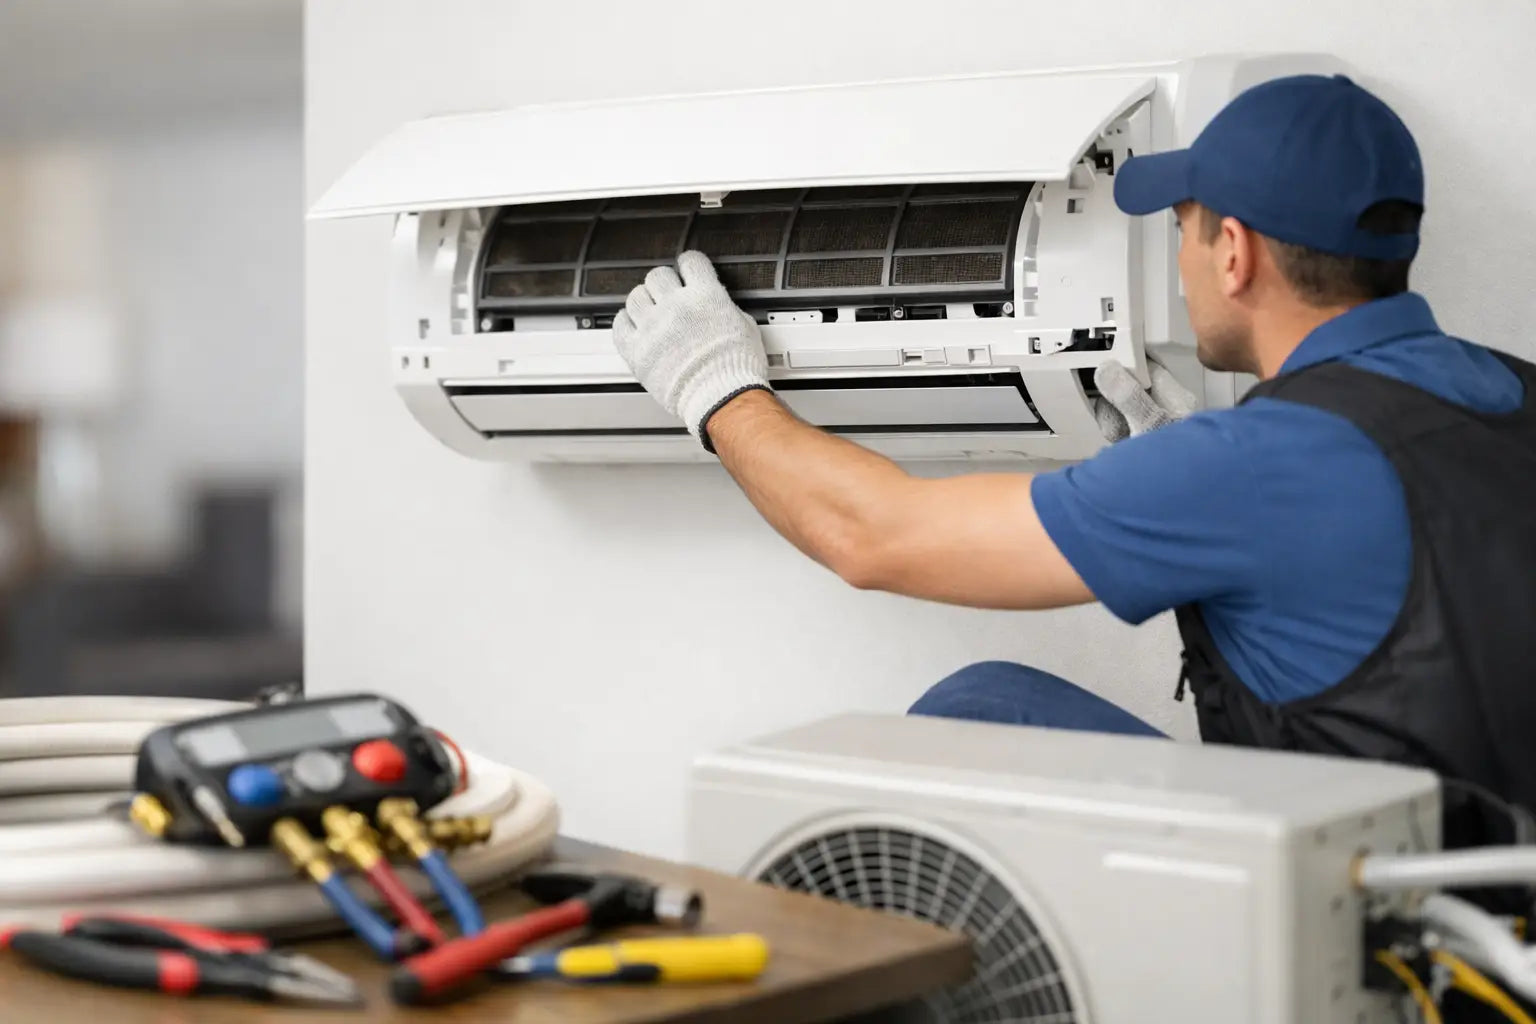
Leave sufficient clearance around each fan coil unit. Technicians need room to remove filters, inspect drainage, and service components. A beautiful concealed installation is not a good result if routine servicing requires dismantling carpentry.
Match Capacity to Room Size and Heat Load
Aircon capacity is usually discussed in BTU or kilowatts. Room size is a useful starting point, but it is not the full calculation. A west-facing master bedroom with large windows can require more cooling than a similarly sized shaded room. A study with computers, monitors, and long working hours can also build up heat faster than expected.
As a general planning approach, bedrooms often use smaller fan coil units than living rooms. The living room typically needs the highest capacity because it is larger, more open, and frequently exposed to heat from windows and cooking areas. Still, an open-concept living and dining area may require a different solution from a compact enclosed living room.
The outdoor condenser also has a combined capacity limit. A multi-split system can run several indoor units, but it cannot always deliver every unit's maximum rated output simultaneously. This is normal and is why a system should be selected based on realistic concurrent usage. If all rooms are regularly cooled at once, tell your installer early. That detail changes the recommended system and layout.
Protect the Installation Quality Behind the Walls
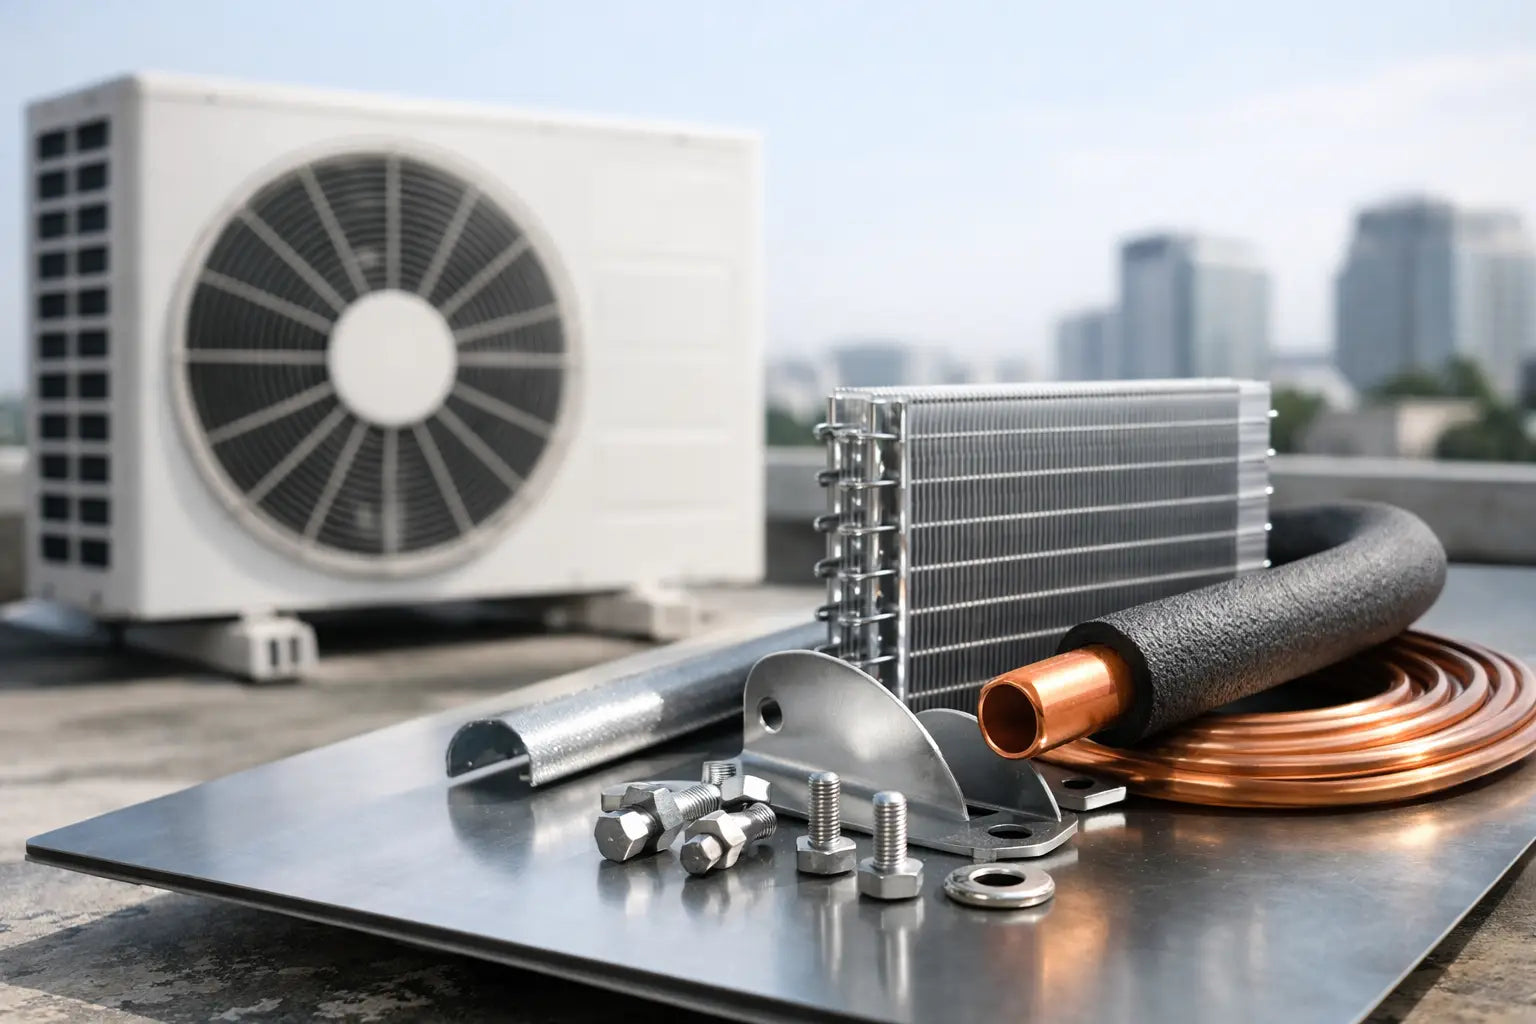
The parts you do not see are often the parts that decide whether your aircon system stays trouble-free. Copper pipe thickness, insulation quality, cable specification, drainage routing, pressure testing, and workmanship all matter more than a bargain package price.
Thin or poorly insulated piping can contribute to condensation, energy loss, and premature problems. Improper drainage slope can lead to water leaks. Untidy jointing or weak testing procedures can result in gas leaks that only become obvious after handover.
For BTO installations, choose an installer that explains its materials clearly. Premium insulation, such as K-FLEX TITAN Class 0, helps manage condensation and provides better thermal protection. Thicker 21 SWG copper piping and quality Singapore-made cables provide added assurance for a long-term installation. These specifications should be discussed openly, not treated as vague upgrades with no technical explanation.
A careful installation team should also perform pressure testing and vacuuming before commissioning the system. These steps help confirm that the piping network is properly sealed and free from moisture or contaminants. They take time, but they are not optional shortcuts if you want reliable cooling.
Coordinate Aircon Work With Renovation Early
Your aircon layout should be confirmed before electrical work, false ceilings, carpentry, and painting. Late changes can create unnecessary hacking, additional trunking, or extra costs.
Share the approved layout with your interior designer and electrician. Confirm where power points, isolator switches, drain points, and access panels will be located. If you plan to box up piping, ensure there is still an accessible route for future repairs. A fully sealed box-up may look clean, but it can turn a simple issue into a costly carpentry job.
It is also wise to consider future service access at the air-conditioner ledge. Outdoor condensers need space for cleaning, inspection, and repair. Do not crowd the ledge with storage or fixtures that make safe maintenance difficult.
Commercestar Engineering approaches BTO aircon planning as an installation project, not a quick equipment sale. A proper assessment considers your floor plan, daily usage, preferred finishing, and the materials needed to keep the system performing well after you move in.
Questions to Settle Before Confirming Your Layout
Before approving a quote, make sure you can answer a few practical questions. Which rooms will run at the same time? Where will every indoor unit sit? What is the exact piping route to the condenser? Will trunking be exposed, concealed, or boxed up? What materials and testing procedures are included? And can technicians service each unit without damaging your renovation?
Clear answers now prevent assumptions later. They also make quotations easier to compare because you are evaluating the full installation scope, not only the brand and number of fan coil units.
Your BTO aircon layout should feel almost invisible in daily life: rooms cool comfortably, drainage works quietly, trunking fits the home, and servicing remains straightforward. Plan for that standard before the renovation begins, and your new home will be easier to enjoy from the first night onward.